Project photos for the conversion of the five-bed HMO at Ince Green Lane, Wigan.
This project finished at the end June 2016.

First few days
Lots of materials on site. Rip out started.
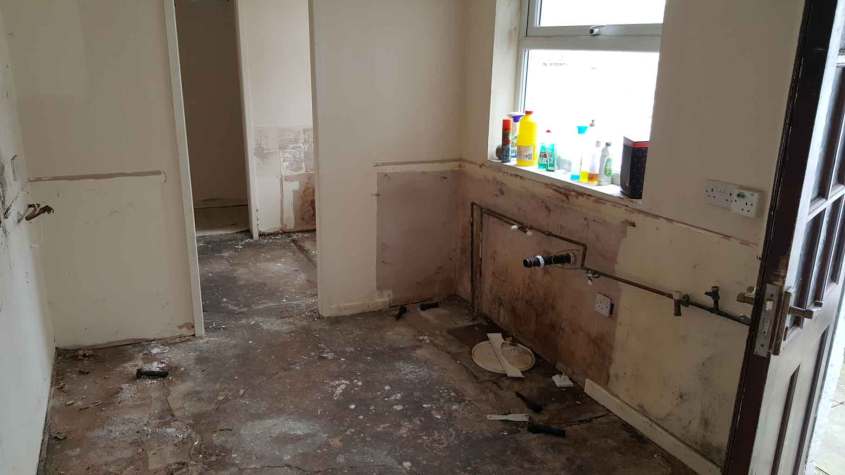
Bathroom
Initial rip-out

Front bedroom
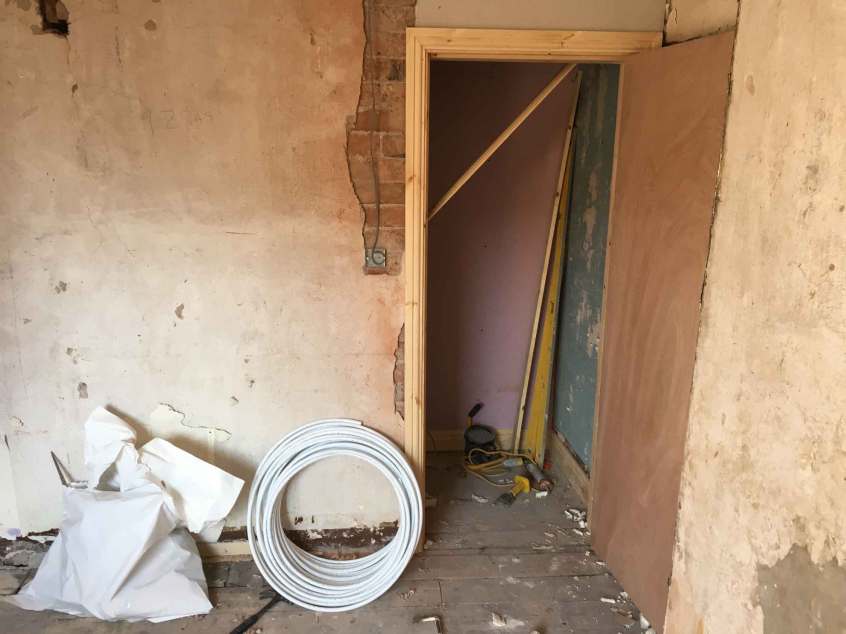
Removing door frames. These will be replaced with fire door frames.

Front room
Door frame has been removed. We did this throughout the house to make way for fire regulation doorways and frames.

Throughout downstairs
Floor joists were rotten in places so we replaced them.

Throughout downstairs
Joists removed. You can see into the basement.

Throughout downstairs
Don’t worry. We cleaned out the mess in the basement!

Lounge / kitchen
New joists being fitted.

Bathrooms
We turned this space into a shower room and another bathroom. Rip out more or less finished here.

Throughout downstairs
The membrane you can see in this photo is part of the damp-proof course we fitted throughout the downstairs. We also injected the walls with a chemical agent which blocks the damp from rising.
We are able to provide 30 year guarantees with our DPCs.

Front room
This property had a large front bedroom which we split into two rooms. Here you can see the stud work and insulation going in.

Front room
The stud wall used to create two rooms out of one split the existing window in half. We moved the original window and installed a new one to make it suitable for tenants.

Bathrooms
Stud work going in to create the two rooms.

Outrigger roof
The roof on the outrigger was in bad shape so we replaced it. Here you can see the old roof has been removed.

Outrigger roof
Almost complete.

Upstairs rooms
Karl Clarke inspects the stud work and joinery put in place for the new bedrooms.
All rooms
Example new FD30 fire door and frame

Rear bedroom
Plastering started. You can see it beginning to dry out in patches.

Upstairs bedroom
Some plastering done along with first fix electrics.

Kitchen diner
Kitchen units from Howdens starting to go in.

Bathrooms
We fitted a bitumen layer in the downstairs bathrooms to stop damp coming through.
When we fitted the plumbing we expected to break through the existing damp-proof membrane, which we did. This layer protects the bathrooms from any damp seeping through. It’s overkill for the job, but worth it.
We created a new inspection chamber outside.

Upstairs
Decorating starts.

Kitchen
High-gloss laminate flooring goes down. Low maintenance and visually impactful.

Hallway
The carpets are hard-wearing landlord carpets. We fit them with 9mm underlay which gives lots of cushioning underfoot which tenants love.
Note the fire extinguisher. Although not required for a 5 bed HMO we have also fitted security lighting which is out of this shot.
Door closers and thumb-turn locks on all of the bedroom doors.

Finished kitchen
It all comes together! Having seen the photos above where there were no floor joists you can see how far we take our clients projects.
The finished kitchen has the ‘wow’ factor to attract tenants into the property.

Finished kitchen
From a different angle.

Finished Shower Room
In this property we put in a shower room and a separate bathroom. Here you can see the finished quadrant shower. you can also just see the chrome towel rail behind the door.

Corridor to Bathroom
This used to be the old kitchen, now a shower room and bathroom.

Finished Bathroom
Finished electric shower over bath and towel rail.

Finished Bedroom
One of the finished bedrooms.
We can change the finishes, tiles, carpet etc to suit the clients wishes. This is a baseline spec which we know from experience appeals to tenants in this area.
This project was completed at the end of June 2016. We have a number of other projects at different stages of planning for the same client.
Like what you see? Please get in touch to discuss.